


Green web design tools I can't live without
Green web design tools I can't live without
As important as the air I breathe, the blue hair dye I use, and the coffee I consume.

It’s almost impossible to design green websites without using tools for measuring, testing, comparing, emotional supporting. All the important -ings.
And with every passing month, new green tools and ideas come forth into our world. Some to help us. Some to bamboozle us. Some to replace the old.
But through all these innovations, very few tools become our tried-and-true companions. So today, I wanted to serve up 3 of my favorite, always-by-my-side green web design tools.
1. Carbon Footprint Calculator: Digital Beacon
There are tons of website carbon calculators out there. Including the OG Website Carbon Calculator, the detailed yet beautifully designed Ecograder, the new-on-the-scene SiteGround calculator, and tons more.
Even with all of those tools, Digital Beacon has stayed my favorite.
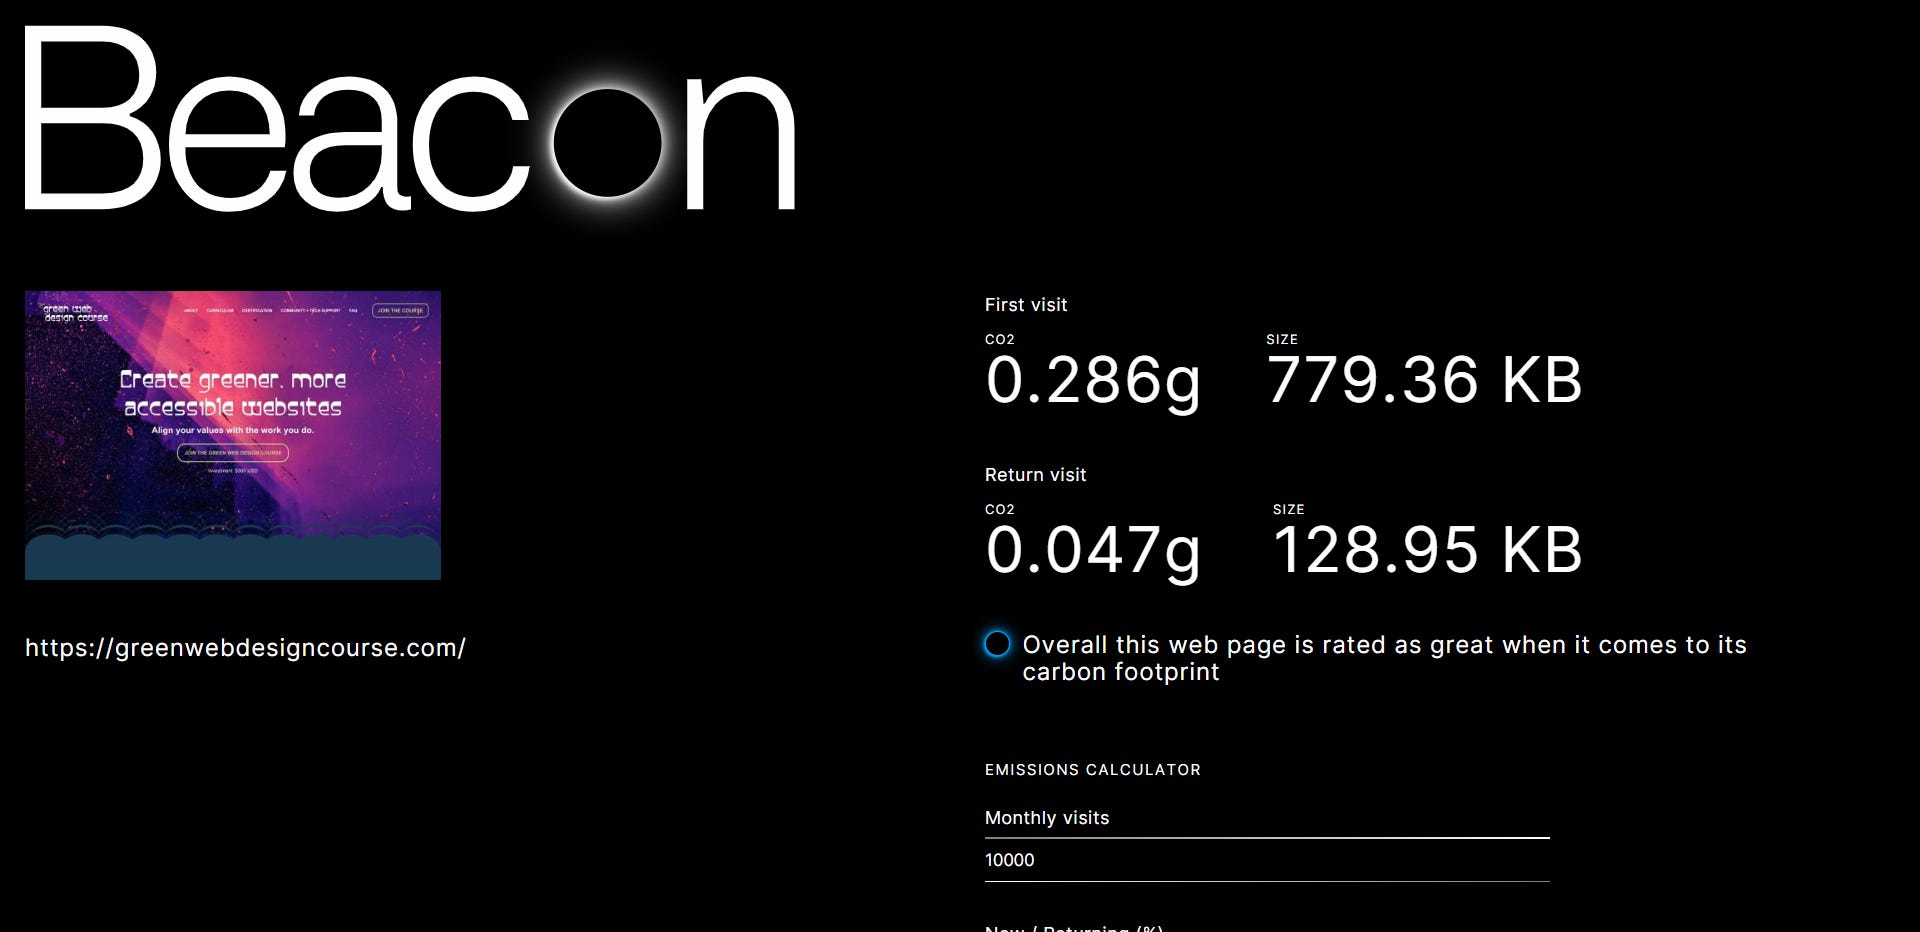
Beacon isn’t perfect by any means, there are things I would personally change about it. But this calculator gives me everything I’m looking for when I test a webpage:
Its estimated carbon footprint
Its file size
The breakdown of its total file size
The history of the page’s testing so you can compare its size through time
I used to use multiple tools to get all of this information and Beacon has simplified my process a lot. It’s the true one-stop-shop for testing a webpage.


Beacon even has a Chrome Extension you can install. When you’re on a web page, you can click the extension in your browser and it will automatically open a new tab and run the page through Beacon’s calculator. It’s so slick!
Even though this tool is amazing, I can’t end this section without a disclaimer: Any website carbon calculator you use will not give you the definitive amount of carbon a webpage actually emits. They all give estimates.
If you run one page through multiple calculators, you’ll get a different result from each one as they all use different equations for their estimations.
For example, I ran the home page of the Green Web Design Course website through all the calculators I listed above, and this is what they gave me:
Website Carbon Calculator: 0.2g of CO2
Ecograder: 0.25g of CO2
SiteGround’s Calculator: 0.48g of CO2
Digital Beacon: 0.286g of CO2
While most of these numbers are close, none of them are exactly the same. When you find a calculator you like to use, stick with it so you can see the actual changes you’re making. Or else you run the risk of comparing apples to oranges.
Another thing to note: Ecograder said my website runs on renewable energy while Website Carbon Calculator and SiteGround said it does not. This happens because I use a CDN for my site. Each calculator might be pinging a different server. And that’s okay! What they say does not change my webhost or the energy it uses. It’s just the nature of how websites work.
Lastly, I don’t vibe with Beacon’s rating system of Amazing, Great, Good, OK, and Bad. I think there’s more nuance to green web design than assigning a website a grade based on its carbon estimate. I always ignore this part when testing.
Basically, don’t treat any carbon calculator as gospel. Use it for measuring and to improve, but take all of it with a grain of salt.
2. Image Optimization: TinyJPG/TinyPNG
For the vast majority of webpages, images are the biggest contributor to their file size and carbon footprint. The absolute best thing you can do to make your website greener is to run your images through an image compressor before uploading them to your site.
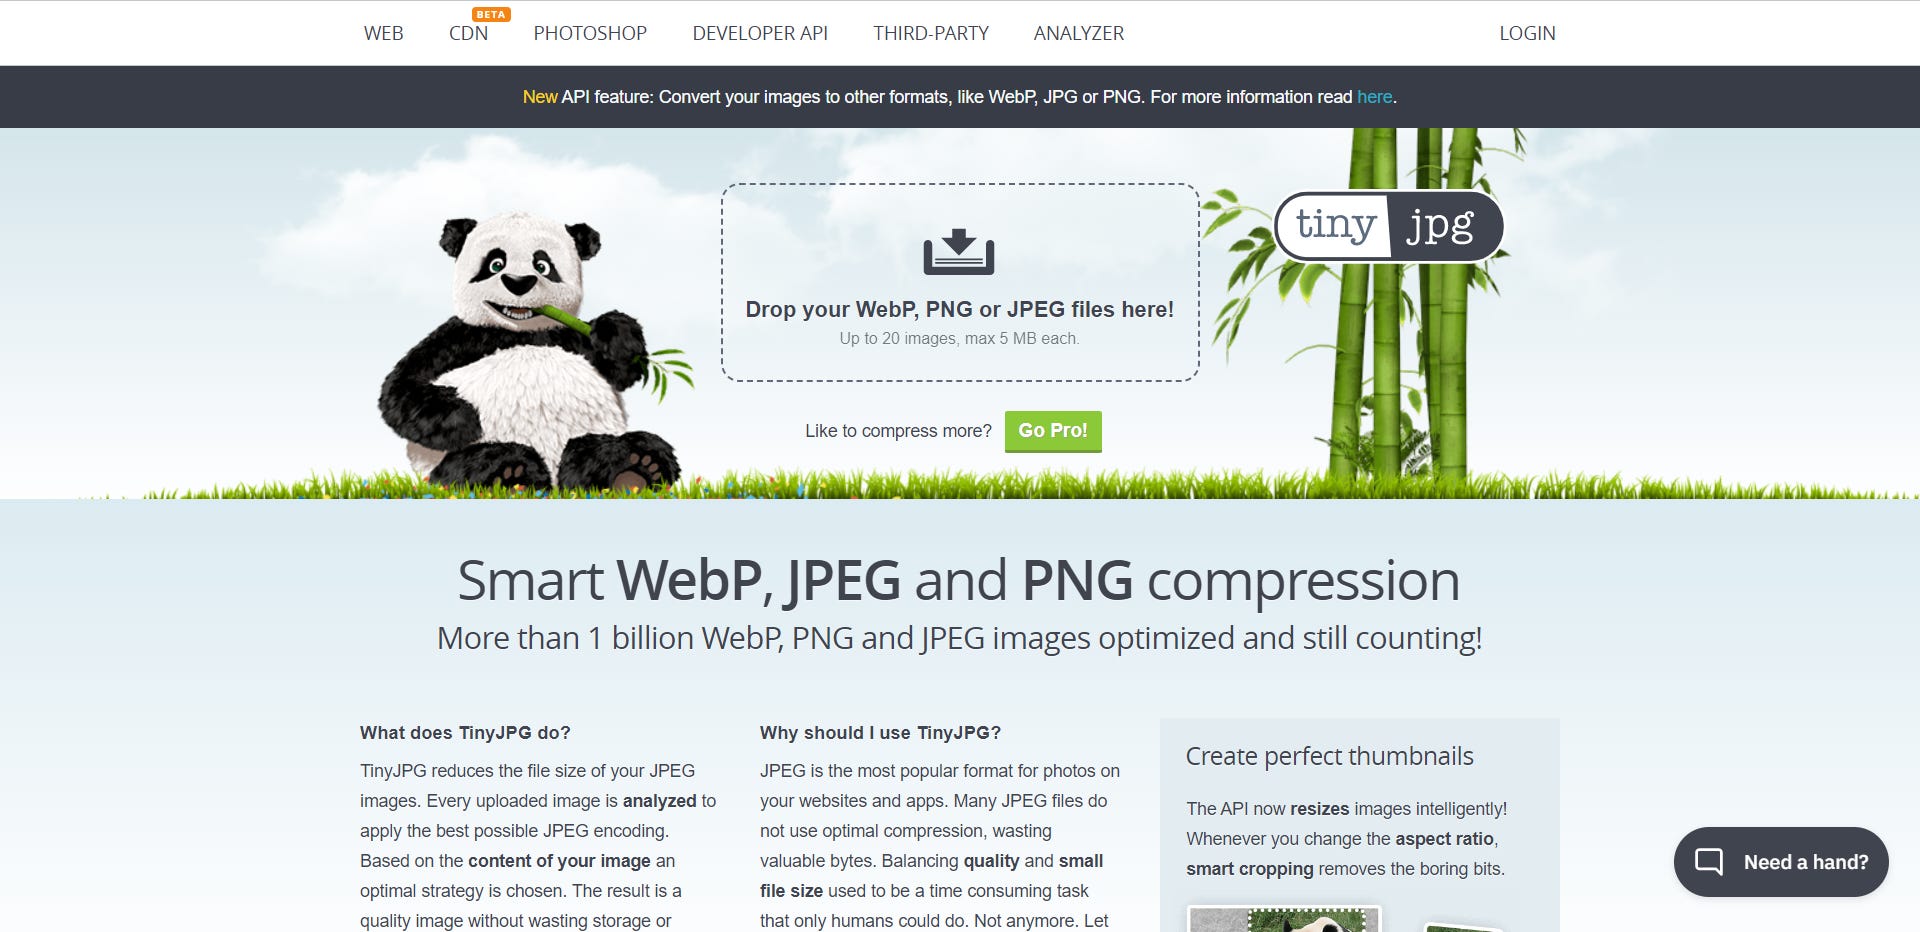
My personal favorite online compressor is TinyJPG. It’s completely free to use, works so fast, and there’s no noticeable loss in quality.
Usually, I can save up to 80% in file size on the images I upload!! It’s a huge amount of savings for such little effort!
While TinyJPG is great, it can only compress so much. The larger the file size of the image you upload, the larger the compressed image’s file size will be. So uploading an already-somewhat-optimized image is best for maximum compression.
And to get that kind of image file, I want to give a shout out to Canva. Canva ROCKS at exporting images at a small file size (and is the honorary 4th tool in this list).
I did a test a few months ago as part of the curriculum for the GWDC that was pretty mind-blowing. So much so that I want to share its results with all of you!
I took two of the same images and saved them out from Photoshop, Illustrator, and Canva. One I saved as a JPG, the other as a PNG.


Let’s start with the JPG. All copies were exported with the quality set to 80 in each program. Here’s how it saved out:
Illustrator: 118KB
Photoshop: 123KB
Canva: 59KB
Canva’s export process saved out at about half of the file size of either the Illustrator or Photoshop export. Canva’s the best. Adobe is for chumps.
While Canva is otherworldly for JPG exports, its PNG exporting was a tad less impressive. Here’s how that stacks up:
Illustrator: 418KB
Photoshop: 409KB
Canva: 375KB
Canva still came in at the lowest for the PNGs, but not by as much as the JPGs. (Note: I did not check the “Compress file (lower quality)” box when I exported. Checking that might do even more!)
Even though Canva is an over-achiever, it’s not the best tool all the time. For that JPG, it would be so much faster for me to crop it and save it in Photoshop. For the PNG, I originally created that image in Illustrator, although Canva would be a good choice, too.
Overall, there is always going to be a way to make an image’s file size smaller, but we don’t have to take every single perfect step to get there.
If you do nothing else to make your website green, at least run your images through an optimizer like TinyJPG. It will speed up the webpage while lowering its carbon footprint with little effort on your part.
Before we move on, I gotta sneak in a little self-promo in this section. Why does promo always feel so weird? If you are wanting to optimize your images but want a littleeee bit more guidance, I have a 100% free, 7-Day Challenge that focuses on optimizing the images on your home page!
3. Web Accessibility Evaluation Tool: WAVE
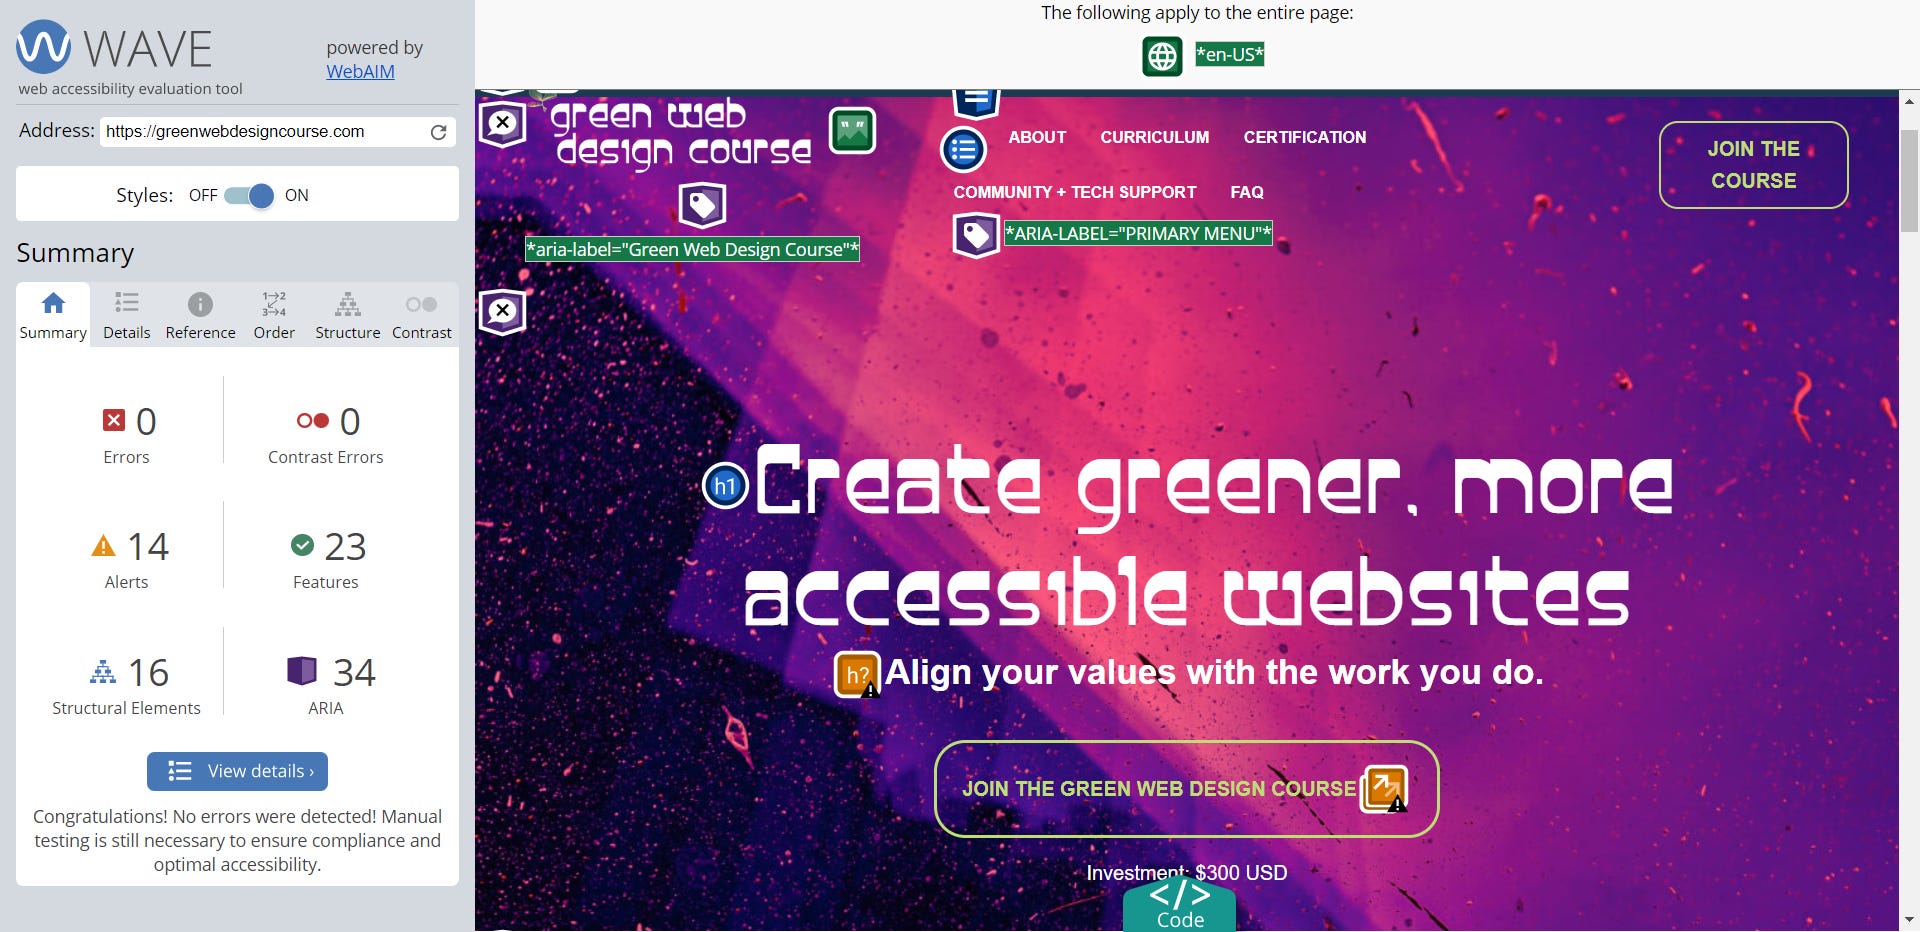
The last tool I want to highlight is WAVE. Green web design needs to account for people as well as planet. And the main way to do that is by making your website accessible.
WAVE looks over your page for structural errors, contrast errors, things that may need your attention, and more! Its UI is intuitive and makes it easy to see exactly which part of your page an error is referencing.
As you go through the errors and alerts, if you run into terminology you’re unfamiliar with, there’s extra details and info you can look at built right into their tool. Pretty nifty!
Accessibility can be intimidating and overwhelming. WAVE makes it easy to get your feet wet.
It also helps to not tackle everything all at once. If you run your home page through WAVE and it flags a bunch of issues, start small.
I suggest starting simply by fixing any contrast errors. To fix those, you only have to tweak your colors to make sure everything is legible. No coding or other web building knowledge needed at all! (And here’s a bonus tool to help you with that: Colour Contrast Checker.)
For as much as I love WAVE and other accessibility tools, this one needs a disclaimer as well: No accessibility tool is perfect. The best way to test for accessibility is with people.
Tools don’t actually “see” the colors on your page. Or “read” the alt text. They use math to test contrast ratios and search through the page’s code for certain tags.
But, when we don’t have the extensive resources we need to test with a large group of people (pretty much all of us small businesses fall into this bucket), these kinds of tools come in clutch.
Because it is a technology and not a person, if it flags an issue that you, as a person, can tell isn’t actually there, it might be getting confused by something in the code.
It’s not perfect, but that’s okay! Use it, and all of these tools as a starting point.
Happy green web designing!

If you’re interested in learning more about green web design, I have some free (and one paid) resources for you!
The Blue Raspberry YouTube Channel: A few webinar replays to dive deeper into the topic.
7 Days to a Greener Website Challenge: 100% free! Once you sign up, each day, you’ll get a task emailed to you with a video walkthrough + PDF guide to help. Works for any website platform. DIYers and designers welcome! No coding knowledge needed.
Green Web Design Course: Learn everything from the impact of the web on the planet to how to optimize all the details on a site. With seven modules, the curriculum gives a well-rounded look at what green web design is, why it’s important, and how to implement it in your work and marketing. No coding knowledge needed. Investment: $300 USD. Payment plans available!
Wow I’m shocked about Canva image size! Love tinypng it’s amazing to see it reduce the sizes.
I love these detailed breakdowns like Laneen’s one on color the other day. I am inspired to write something similar now!